

The aroma of warm, fudgy cocoa with a hint of vanilla, yielding to the delightful crunch of cookies, fills the air, promising a treat that’s both vibrant and utterly indulgent. These cookies are a little piece of edible magic.
I still remember the first time I attempted to bake red velvet cookies, convinced I was a baking wizard. Turns out, I was more of a baking catastrophe, but thankfully, this recipe came along and restored my culinary confidence, proving even I could create something spectacular.
Embarking on a baking adventure can sometimes feel daunting, a whirlwind of flour, sugar, and the elusive promise of perfection. But what if I told you there’s a recipe that not only delivers on that promise but also turns the entire process into an absolute joy? Imagine a cookie so visually striking, so texturally diverse, and so incredibly simple to whip up that it transforms your kitchen into a haven of sweet success. We’re talking about a treat that captivates with its rich color, excites with its layered flavors, and delights with every satisfying bite. This isn’t just a recipe; it’s your ticket to becoming the hero of every potluck, the star of every bake sale, and the ultimate purveyor of comfort food in your own home. Get ready to dive into the delightful world of cookies where elegance meets effortless charm, creating moments of pure, unadulterated happiness with every perfectly baked piece.
What Makes This Recipe Special
This recipe effortlessly blends easy preparation with a truly unique flavor profile that sets it apart. Not only does it boast a stunning appearance with its vibrant red hue and visible cookie pieces, but it also offers a fantastic canvas for versatility, allowing home cooks to enjoy a gourmet-like experience without any fuss. You’ll find that creating these delightful treats is a simple journey from mixing bowl to delicious indulgence.
Why Your New Favorite Red Velvet Oreo Cookie Recipe Will Be a Hit
Prepare for these cookies to disappear faster than you can say “more, please!” There’s something undeniably captivating about the way this recipe brings together classic red velvet goodness with the irresistible crunch of everybody’s favorite sandwich cookie. It’s not just a dessert; it’s an experience, a playful dance between soft, chewy cookie and crisp, chocolatey texture that will have everyone clamoring for your secret. This particular cookie recipe promises to deliver a consistent, bakery-quality result every single time, ensuring your baking endeavors are always met with enthusiastic applause.
Gathering Your Culinary Treasure Chest
To create these irresistible cookies, precise measurements and quality ingredients are your best friends. Each component plays a crucial role in developing the final texture, color, and flavor that makes these treats so memorable. Take a moment to assemble everything before you begin; it truly makes the process smoother and more enjoyable, leaving you free to focus on the magic.
Here’s what you need for this delicious dish:
- **1 ½ cups all-purpose flour** The foundational structure for our cookies, ensuring they hold their shape while remaining wonderfully tender.
- **¼ cup unsweetened cocoa powder** This is essential for providing that subtle cocoa note characteristic of red velvet, without overpowering the other delightful flavors.
- **1 teaspoon baking soda** Our leavening agent, responsible for giving the cookies a slight lift and contributing to their soft, chewy interior.
- **½ teaspoon salt** A tiny but mighty ingredient that balances the sweetness and enhances all the other flavors, making them pop.
- **½ cup (1 stick) unsalted butter, softened** Crucial for achieving that light and fluffy texture when creamed with sugars; make sure it’s properly softened to room temperature.
- **¾ cup granulated sugar** Provides the primary sweetness and contributes to the cookie’s crisp edges and chewy center.
- **¼ cup packed light brown sugar** Adds depth of flavor with its caramel notes and helps keep the cookies moist and incredibly tender.
- **1 large egg** Acts as a binder, bringing all the ingredients together and adding richness to the dough.
- **1 teaspoon vanilla extract** Elevates the overall flavor profile, adding a warm, aromatic sweetness that complements the cocoa beautifully.
- **1 tablespoon red food coloring (liquid or gel)** This is where the vibrant “red” in red velvet comes from. Gel food coloring is recommended for a deeper, richer color.
- **1 cup chocolate chunks or chips** These provide pockets of intense, melty chocolatey goodness throughout the cookie, adding another layer of indulgence.
- **8-10 Oreo cookies, crushed** The star crunch of the show! These crushed pieces are key to the distinct crunch and signature flavor that makes this Your New Favorite Red Velvet Oreo Cookie Recipe truly unique.
All ingredients and quantities can be found directly in the recipe card below.
Creating Magic: Step-by-Step Red Velvet Oreo Cookie Instructions
Crafting these vibrant red velvet and Oreo cookie treats is a straightforward journey, broken down into simple, manageable steps. Before you know it, your kitchen will be filled with an irresistible aroma and your counter with a plate of gorgeous, delightful cookies.
Step 1: Whisking the Dry Delights
In a medium bowl, whisk together the flour, cocoa powder, baking soda, and salt. Make sure these dry ingredients are thoroughly combined, then set the bowl aside for later use. This ensures an even distribution of leavening and seasoning throughout the dough.
Step 2: Creaming the Sugars and Butter
In a large bowl, using an electric mixer, cream together the softened butter, granulated sugar, and brown sugar until the mixture becomes light and wonderfully fluffy. This process usually takes about 2-3 minutes, creating the base for a tender cookie.
Step 3: Infusing Color and Flavor
Next, beat in the large egg and vanilla extract into the creamed butter and sugar until everything is well combined and smooth. Once incorporated, add the tablespoon of red food coloring. Continue mixing until the cookie dough is uniformly red, showcasing its iconic red velvet hue.
Step 4: Combining Wet and Dry Ingredients
Gradually add the prepared dry ingredients from Step 1 to the wet ingredients in the large bowl. Mix on low speed, being careful to blend just until combined. It’s important not to overmix the dough once the flour is added, as this can lead to tough cookies.
Step 5: Folding in the Star Add-Ins
Gently fold in ¾ cup of the chocolate chunks and half of the crushed Oreo cookies into the dough. Use a spatula to carefully incorporate them, ensuring they are evenly distributed without overworking the dough. These additions are what give these cookies their signature texture and flavor.
Step 6: Chilling for Cookie Perfection
Cover the dough and place it in the refrigerator. Chill the dough for at least 30 minutes, and it can stay there for up to 2 hours. This chilling step is crucial for preventing the cookies from spreading too much during baking and helps achieve a chewier texture.
Step 7: Preparing Your Baking Haven
Preheat your oven to 350°F (175°C). While the oven is heating, line a baking sheet with parchment paper. This preparation ensures your cookies don’t stick and cook evenly.
Step 8: Scooping onto the Sheet
Scoop rounded tablespoons of the chilled dough onto the prepared baking sheet. Make sure to leave about 2 inches of space between each cookie dough ball to allow for proper spreading without merging.
Step 9: Topping with Extra Goodness
Before baking, take the remaining chocolate chunks and the remaining crushed Oreo pieces and press them gently onto the tops of the cookie dough balls. This adds visual appeal and an extra burst of flavor and crunch to the finished red velvet and Oreo cookies.
Step 10: The Bake Cycle
Bake the cookies for 10-12 minutes, or until you observe that the edges are set and the centers still look slightly soft. Remember, slight underbaking is often key for a truly gooey center, as they will continue to set on the hot baking sheet.
Step 11: Cooling and Enjoyment
Remove the cookies from the oven and let them cool on the baking sheet for 5 minutes. This allows them to firm up before transferring them to a wire rack to cool completely. Garnish with an extra sprinkle of crushed Oreo pieces if desired and serve these beautiful red velvet cookies warm or at room temperature.
Expert Tips for Perfect Red Velvet Oreo Cookies
Achieving cookie perfection is all about a few clever tricks and careful attention to detail. This particular cookie recipe thrives on certain practices that will elevate your baking from good to absolutely glorious.
For a truly vibrant red color without compromising the dough’s consistency, use gel food coloring. It delivers a much richer hue compared to liquid food coloring, and you won’t be adding unnecessary extra liquid to the mixture. Remember the golden rule of baking: do not overmix the dough once the flour has been added. Overmixing develops too much gluten, which can result in tough, chewy (and not in a good way!) cookies. Chilling the dough is not an optional suggestion; it’s a crucial step. This time in the refrigerator prevents the cookies from spreading excessively during baking, ensuring they maintain their shape and achieve that perfectly chewy texture we all adore. For those who dream of a truly gooey center, slightly underbake these treats. They will continue to set and firm up as they cool on the hot baking sheet, providing that delightful melt-in-your-mouth experience.
Your Baking Questions Answered
Making delicious red velvet and Oreo cookies should be a joyful process, and a few common questions can often arise. Here are some answers to ensure your baking journey is smooth and successful.
**How do I achieve that vibrant red color?**
The secret lies in using gel food coloring. Unlike liquid dyes, gel food coloring is highly concentrated, allowing you to achieve a deep, rich red without adding too much moisture to your dough. A little goes a long way for these velvety treats.
**Why is chilling the dough so important?**
Chilling the dough serves a couple of crucial purposes. Firstly, it solidifies the butter in the dough, which helps prevent the cookies from spreading too much in the oven, ensuring they maintain a lovely thickness. Secondly, it allows the flavors to meld together and results in a chewier, more delightful texture, truly enhancing these red velvet cookies.
**Can I prepare the dough ahead of time?**
Absolutely! The dough for this particular cookie recipe can be covered and stored in the refrigerator for up to 2 days. This makes it perfect for prepping ahead for parties or when you simply want fresh-baked cookies on demand. Just let it sit at room temperature for about 10-15 minutes before scooping if it’s very firm.
**How should I store these delicious cookies?**
Once completely cooled, these cookies are best stored in an airtight container at room temperature. They will remain wonderfully fresh and delicious for up to 3-4 days, though I suspect they won’t last that long in most homes!
There you have it, a journey into creating what is destined to become Your New Favorite Red Velvet Oreo Cookie Recipe. These cookies aren’t just a dessert; they’re a celebration of flavor, texture, and the simple joy of baking. Whether you’re a seasoned baker or just starting your culinary adventures, this recipe promises delightful results and countless smiles. Go forth, preheat that oven, and prepare to bake something truly extraordinary!
Mastering the Secrets of Cooking
To nail the texture of Your New Favorite Red Velvet Oreo Cookie Recipe, start by accurately combining dry ingredients then wet. Don’t skip chilling the dough; it’s essential for preventing excessive spread and boosting chewiness, giving these delightful treats their signature feel. Precise measuring also makes a huge difference!
Make Your Recipe Unique
Want to put your own spin on these delightful treats? Instead of classic Oreo cookies, try a different flavor like Golden Oreos or mint for a delightful twist. For the chocolate chunks, experiment with white chocolate, milk chocolate, or even dark chocolate chips to change the flavor profile entirely.
Smart Storage & Reheating
To keep Your New Favorite Red Velvet Oreo Cookie Recipe delightfully chewy with a satisfying crunch, store them in an airtight container at room temperature for up to 3-4 days. This ensures the soft centers remain tender and the Oreo crunch endures, ready for your next craving.
The Chef’s Golden Tips
I once baked a batch of these glorious red velvet creations, and my neighbor’s kid, usually a picky eater, devoured three in minutes! It’s incredible how a simple cookie can bring so much joy to anyone.
Final Thoughts
You’ve explored the secrets to creating vibrant, irresistible red velvet cookies, a truly delightful combination of textures and flavors. Imagine that soft, chewy red velvet base, a hint of cocoa, perfectly balanced with the rich sweetness of chocolate chunks and the satisfying crunch of crushed Oreo pieces. These cookies are not just a dessert; they’re an experience, promising to bring joy with every bite. Don’t just dream about them – gather your ingredients and whip up a batch. Experience the magic of your new favorite red velvet cookie recipe and share the sweetness!
Print
Your New Favorite Red Velvet Oreo Cookie Recipe
- Total Time: 0 hours
- Yield: 18 cookies
Description
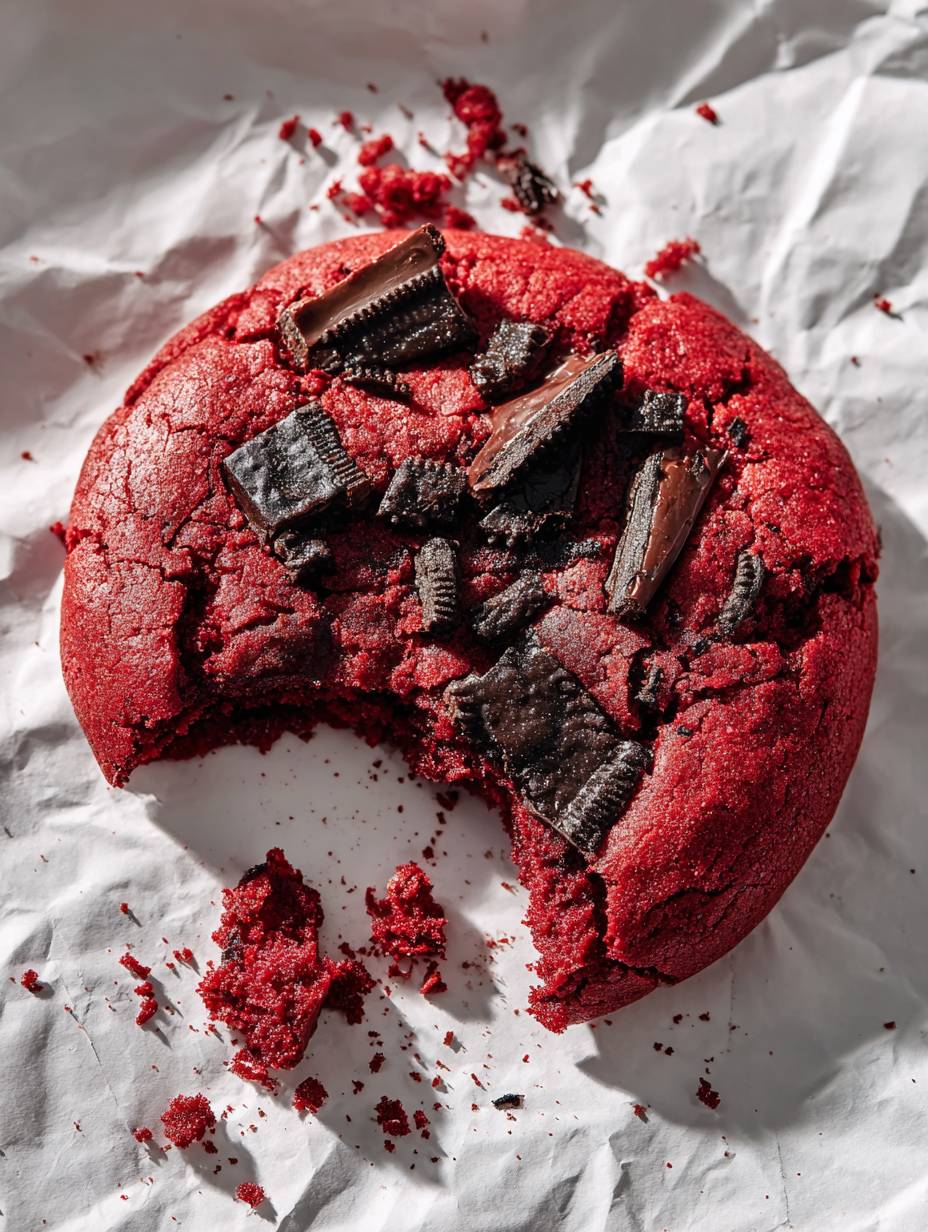
These vibrant red velvet cookies offer a delightful combination of textures and flavors. Each cookie features a soft, chewy red velvet base with a subtle cocoa note, complemented by the rich sweetness of chocolate chunks and the distinct crunch of crushed Oreo pieces. Baked to achieve a tender interior, they provide a satisfying treat for any occasion.
Ingredients
- * 1 ½ cups all-purpose flour
- * ¼ cup unsweetened cocoa powder
- * 1 teaspoon baking soda
- * ½ teaspoon salt
- * ½ cup (1 stick) unsalted butter, softened
- * ¾ cup granulated sugar
- * ¼ cup packed light brown sugar
- * 1 large egg
- * 1 teaspoon vanilla extract
- * 1 tablespoon red food coloring (liquid or gel)
- * 1 cup chocolate chunks or chips
- * 8-10 Oreo cookies, crushed
Instructions
- In a medium bowl, whisk together the flour, cocoa powder, baking soda, and salt. Set aside.
- In a large bowl, using an electric mixer, cream together the softened butter, granulated sugar, and brown sugar until light and fluffy, about 2-3 minutes.
- Beat in the egg and vanilla extract until well combined. Add the red food coloring and mix until the dough is uniformly red.
- Gradually add the dry ingredients to the wet ingredients, mixing on low speed until just combined. Be careful not to overmix.
- Gently fold in ¾ cup of the chocolate chunks and half of the crushed Oreo cookies.
- Cover the dough and chill in the refrigerator for at least 30 minutes, or up to 2 hours. This helps prevent the cookies from spreading too much.
- Preheat your oven to 350°F (175°C). Line a baking sheet with parchment paper.
- Scoop rounded tablespoons of dough onto the prepared baking sheet, leaving about 2 inches between each cookie.
- Press the remaining chocolate chunks and crushed Oreo pieces onto the tops of the cookie dough balls before baking.
- Bake for 10-12 minutes, or until the edges are set and the centers still look slightly soft.
- Remove from the oven and let the cookies cool on the baking sheet for 5 minutes before transferring them to a wire rack to cool completely.
Notes
* For best results, use gel food coloring for a more vibrant red color without adding too much liquid to the dough.
* Do not overmix the dough once the flour is added, as this can lead to tough cookies.
* Chilling the dough is crucial for preventing excessive spreading and achieving a chewier texture.
* Cookies are best enjoyed fresh but can be stored in an airtight container at room temperature for up to 3-4 days.
* For a truly gooey center, slightly underbake the cookies and let them finish setting on the hot baking sheet.
- Prep Time: 20 minutes
- Cook Time: 10-12 minutes
Nutrition
- Calories: 210
- Fat: 10g
- Carbohydrates: 28g
- Protein: 2g
FAQs
Why is chilling the cookie dough an important step for these cookies?
Chilling the dough is a crucial step for achieving the best possible texture and preventing excessive spreading during baking. The recipe calls for at least 30 minutes, or up to 2 hours, in the refrigerator. This allows the butter to firm up, resulting in cookies that hold their shape better and spread less in the oven. Additionally, chilling helps create that desirable chewier texture, contributing to the overall appeal of these red velvet treats. Skipping this step might lead to flatter, less satisfying cookies.
What type of red food coloring is recommended for a vibrant cookie color?
For a truly vibrant red hue in your cookies, using gel food coloring is highly recommended. While liquid food coloring can be used, gel provides a more intense color without adding excess liquid to the dough. The recipe specifies one tablespoon of red food coloring, whether liquid or gel. Opting for gel coloring ensures that your red velvet cookies will boast that signature, deep crimson color without altering the dough’s consistency, making for a visually appealing and delicious batch.
What are the consequences if I accidentally overmix the dough once the flour is added?
It’s important to be careful not to overmix the dough after the dry ingredients, including the flour, have been added. Overmixing can lead to the development of too much gluten, resulting in cookies that are tough rather than soft and chewy. The instructions advise mixing on low speed until the dry ingredients are just combined. To ensure your red velvet cookies remain tender and have that melt-in-your-mouth texture, stop mixing as soon as no streaks of flour are visible in the dough.
How should I store these red velvet cookies to keep them fresh?
To keep your delicious red velvet cookies fresh and enjoyable for as long as possible, store them in an airtight container. They will maintain their quality best when kept at room temperature. While they are certainly best enjoyed fresh, these cookies can be stored this way for approximately 3 to 4 days. Proper storage helps preserve their soft, chewy texture and prevents them from drying out, allowing you to savor their delightful flavor over several days.