
Introduction
If you love garlic bread, then get ready to meet its new, more indulgent cousin – Cheesy Garlic Pull-Apart Bread! This is the type of bread you can’t resist. It’s loaded with melted cheese, garlicky goodness, and the best part – you don’t have to slice it! Instead, you tear off chunks of cheesy heaven, making it the perfect finger food for parties, family dinners, or even just a cozy night in. I first tried making pull-apart bread when I wanted something cheesy and comforting, but I also wanted to make a fun, interactive dish that everyone could enjoy. This cheesy garlic bread checks all the boxes. It’s flavorful, easy to make, and absolutely perfect for sharing.
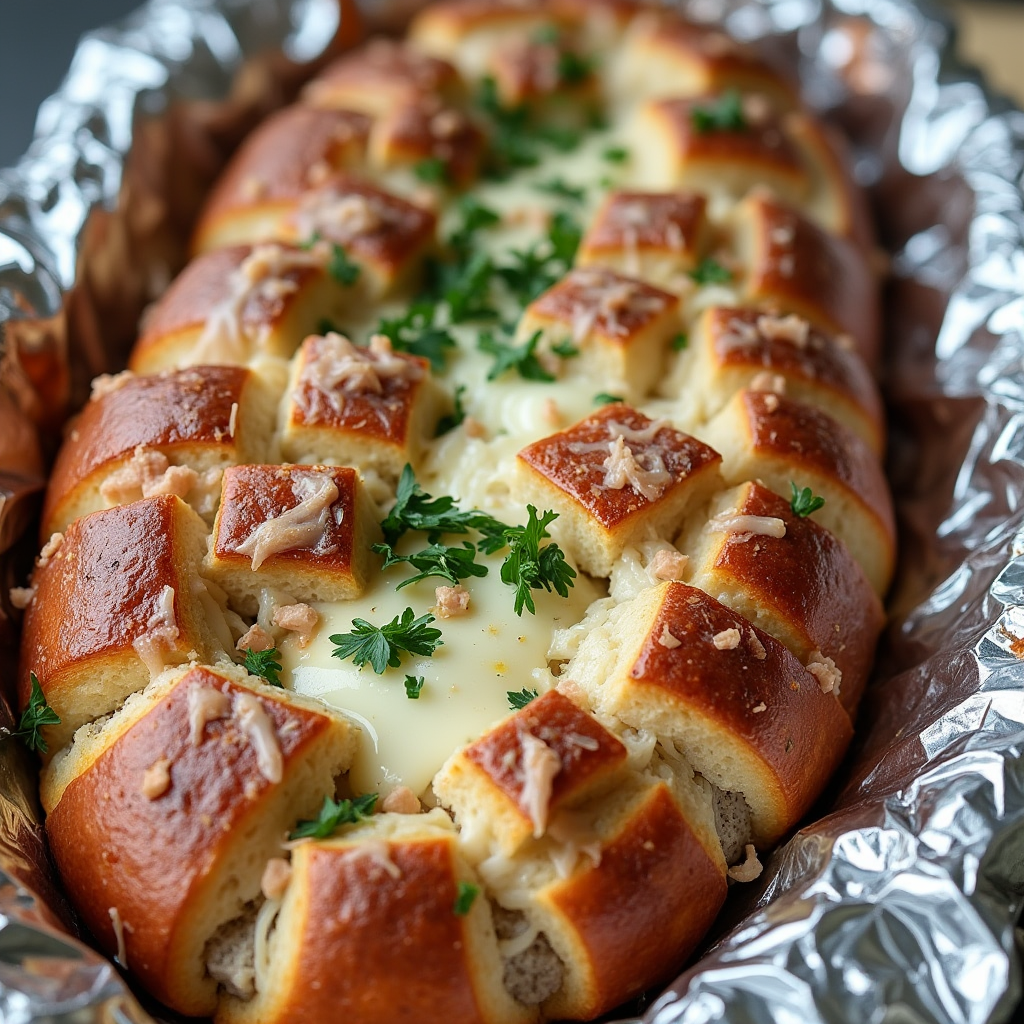
What I love about this recipe is how simple it is to put together, yet it feels like a treat. It starts with a loaf of bread that’s sliced (but not all the way through), then it’s loaded with a mixture of butter, garlic, and cheese before being baked to perfection. The end result? A warm, gooey, cheesy loaf that everyone will fight over. Trust me, you’re going to love how simple yet delicious this cheesy garlic pull-apart bread is.
Why You’ll Love This Recipe
Versatile
This pull-apart bread is incredibly versatile. You can adjust the cheese to suit your taste, whether you prefer mozzarella, cheddar, or a mix of both. You can also add fresh herbs like parsley or thyme for extra flavor. The possibilities are endless!
Budget-Friendly
This cheesy garlic pull-apart bread uses ingredients that are affordable and easy to find. You don’t need to break the bank to create something that’s rich in flavor and texture. It’s a great way to impress your guests without spending a fortune.
Ingredients for the Recipe
-
1 loaf of Italian bread or French bread
-
½ cup unsalted butter, melted
-
4 cloves garlic, minced
-
1 ½ cups shredded mozzarella cheese
-
½ cup shredded Parmesan cheese
-
2 tablespoons fresh parsley, chopped (optional)
-
1 teaspoon dried oregano (optional)
-
Salt and pepper to taste
How to Make This Recipe
Cheesy Garlic Pull-Apart Bread is surprisingly simple to make but looks like you spent hours in the kitchen. With a few simple steps, you’ll have a gooey, garlicky, cheesy masterpiece that will have everyone reaching for more. Let’s dive into how to make this incredible bread!
Step-by-Step Instructions
Step 1: Preheat your oven
Start by preheating your oven to 375°F (190°C). This ensures that your bread will bake evenly and develop that golden, crispy crust you love.
Step 2: Prepare your bread
Take a loaf of Italian or French bread and place it on a cutting board. Using a serrated knife, make deep cuts in the bread, creating squares or diamonds, but be sure not to cut all the way through the bottom. Leave about half an inch of space at the base to keep the loaf intact. This will allow the cheese and butter mixture to seep into every crack, giving you that irresistible cheesy pull with each bite.
Step 3: Make the garlic butter mixture
In a medium bowl, combine ½ cup of melted unsalted butter and 4 cloves of minced garlic. Stir well to ensure the garlic is evenly distributed in the butter. This is where the magic happens! The butter not only helps the bread become golden and crispy but also infuses it with the irresistible flavor of garlic.
Step 4: Add the cheese
Now, it’s time to load up the bread with all that cheesy goodness. In a separate bowl, combine 1 ½ cups of shredded mozzarella cheese and ½ cup of shredded Parmesan cheese. Mix them together, so they’re well combined. You can even throw in a little extra cheese if you love a super cheesy loaf!
Step 5: Fill the cuts with garlic butter
Using a spoon or a pastry brush, drizzle the garlic butter mixture into all the cuts you made in the bread. Make sure each slice gets a generous amount of butter, allowing it to seep down into the crevices of the bread. Don’t be shy with the butter; you want the bread to soak up all that delicious flavor.
Step 6: Add the cheese
Next, stuff the shredded mozzarella and Parmesan cheese into the cuts in the bread. Try to get cheese into every single slice. The more cheese, the better! This is what will make your pull-apart bread ooze with cheese when you pull it apart.
Step 7: Season with herbs
Sprinkle 2 tablespoons of chopped fresh parsley (optional) and 1 teaspoon of dried oregano (optional) over the top of the bread. These herbs add an extra layer of flavor and a beautiful pop of color. Don’t forget to add a pinch of salt and pepper to taste.
Step 8: Wrap in foil
Now, take a large piece of aluminum foil and wrap it around the entire loaf of bread. This will help the bread bake evenly and prevent the cheese from browning too quickly. Wrapping the bread in foil ensures that the cheese melts perfectly and the bread stays soft.
Step 9: Bake the bread
Place the wrapped loaf on a baking sheet and bake for 15 minutes. After 15 minutes, remove the foil and continue to bake for an additional 10-15 minutes, or until the top of the bread is golden and crispy. You’ll start to smell the delicious garlic and cheese as it bakes, and trust me, it will be worth the wait!
Step 10: Serve
Once the bread is done, remove it from the oven and let it cool for a few minutes before serving. To serve, simply tear off chunks of cheesy, garlicky bread. The cheese will pull away beautifully from the bread, and you’ll get that perfect cheesy stretch with every bite. Serve it hot, and enjoy!
Quick and Easy
This cheesy garlic pull-apart bread is the epitome of quick and easy comfort food. From start to finish, it only takes about 40-45 minutes to make, and most of that time is spent baking. It’s perfect for those days when you want a crowd-pleasing snack but don’t have a lot of time to spare. Just prep, bake, and enjoy!
Customizable
One of the best things about this recipe is how customizable it is. While the classic combination of garlic, mozzarella, and Parmesan is always a hit, you can easily adjust it to suit your preferences. For example, you could swap out the mozzarella for provolone for a slightly different flavor or add cooked bacon bits for a savory twist. If you prefer a little heat, you could sprinkle in some red pepper flakes or add a bit of jalapeño. The possibilities are endless!
You could also play around with the herbs. Basil, thyme, or rosemary would all complement the garlic and cheese perfectly. Get creative and make this bread your own!
Perfect for Guests
This cheesy garlic pull-apart bread is not only delicious, but it’s also a fun and interactive dish for guests. Instead of serving traditional slices of bread, guests can tear off pieces as they go, making it a great addition to any gathering, from casual dinners to parties. It’s the perfect side dish to serve with pasta, soups, or salads. And, of course, it’s ideal for game days, movie nights, or any occasion where you want to share something cheesy and delicious with friends and family.
FAQs (Frequently Asked Questions)
Can I make this bread ahead of time?
Yes, you can! To make it ahead, assemble the bread and wrap it tightly in plastic wrap or foil before refrigerating. When you’re ready to bake, simply take it out, let it come to room temperature for 10-15 minutes, and then bake as directed.
Can I use a different type of bread?
Absolutely! While Italian or French bread works best, you can use any hearty, soft bread like sourdough or even a whole wheat loaf. Just ensure the bread has a good structure so it can hold the cheese and butter without falling apart.
How do I reheat leftovers?
If you have leftovers (which is rare, I’m sure!), reheat the bread by wrapping it in foil and baking it in a 350°F (175°C) oven for about 10 minutes, or until warmed through. This will keep the cheese melty and the bread soft.
Can I make this bread with a non-dairy option?
Yes, you can use dairy-free butter and plant-based cheese to make this bread dairy-free. While the flavor might change slightly, it will still be delicious and cheesy!
Can I freeze the bread?
Yes! If you have leftovers, freeze the bread wrapped tightly in foil. When you’re ready to enjoy it again, just reheat it in the oven as mentioned above. Freezing doesn’t affect the taste too much, and it’s great for meal prepping!