

Imagine a symphony of sweet, tart apple filling encased in a buttery, flaky embrace, yielding to that satisfying crunch you crave. This isn’t just a snack; it’s a small parcel of pure joy. Growing up, my grandmother’s kitchen always smelled of cinnamon and promise, where these handheld wonders appeared, born from simple ingredients and a sprinkle of love.
Why You’ll Love This Recipe
Forget fussy desserts; this recipe for individual apple pastries offers straightforward steps that even a novice baker can master, leading to delightful results. The balance of sweet and tart apples, warmed with aromatic spices, creates a flavor profile that is both comforting and exciting. With their beautifully crimped edges and glistening sugar topping, these golden-crusted pies are as pleasing to the eye as they are to the palate, perfect for any gathering. Customize them with different fruit fillings or spices to make them uniquely yours.
Ingredients
Here’s what you need for this delicious dish:
- **All-purpose flour:** The foundational structure for your light and tender pastry.
- **Salt:** Essential for enhancing all the flavors in the crust and filling.
- **Unsalted butter, very cold and cubed:** This is the secret to achieving that coveted crispy apple hand pies texture and rich flavor in the golden crust. Its extreme coldness creates pockets of steam, resulting in layers of flaky goodness.
- **Ice water (plus more if needed):** Crucial for binding the dough without developing too much gluten, ensuring a tender, delicate pastry. The ice-cold temperature also supports the flakiness.
- **Medium apples, such as Granny Smith or Honeycrisp:** Choose firm, crisp apples that hold their shape well during baking and offer a delightful balance of sweetness and tartness, making the heart of your delectable pastry.
- **Granulated sugar:** Sweetens the apple mixture to perfection, balancing the tartness of the fruit.
- **Brown sugar, packed:** Adds a deeper, molasses-rich sweetness and a hint of caramel note to the apple filling.
- **Ground cinnamon:** The classic spice partner for apples, bringing warmth and aromatic comfort.
- **Ground nutmeg:** A subtle, earthy spice that complements cinnamon beautifully, enhancing the overall flavor of the apple filling.
- **Lemon juice:** Brightens the flavors of the apples and prevents browning, ensuring a fresh taste.
- **Cornstarch:** Thickens the apple filling to a luscious consistency, preventing a watery pie.
- **Large egg, beaten with 1 tablespoon water (egg wash):** This mixture is vital for giving your apple hand pies that beautiful golden crust and glossy finish.
- **Granulated sugar, for sprinkling:** Adds an irresistible sparkle and an extra layer of sweetness and crispness to the surface of the baked pastry.
The complete ingredient list, including quantities, can be found directly under the recipe card.
Step-by-Step Instructions
Follow these simple steps to prepare this delicious dish:
1. Craft the Flaky Pastry Dough
Begin your culinary adventure by whisking together the all-purpose flour and salt in a spacious bowl. Introduce the very cold, cubed unsalted butter, working it in with a pastry blender or your fingertips until the mixture resembles pea-sized crumbs. This crucial step helps achieve the perfect flakiness for your individual apple pastries. Gradually pour in the ice water, mixing gently until the dough just comes together. Avoid overworking it! Divide the dough into two equal halves, gently flatten each into a disc, wrap them snugly in plastic, and then chill in the refrigerator for at least 1 hour. This chilling time is essential for a tender, manageable dough.
2. Prepare the Aromatic Apple Filling
While your dough is chilling, turn your attention to the delightful filling. Peel, core, and dice the apples into small, uniform pieces – consistency is key for even cooking. In a medium-sized bowl, combine the diced apples with the granulated sugar, packed brown sugar, ground cinnamon, ground nutmeg, fresh lemon juice, and cornstarch. Stir everything thoroughly until the apples are glistening and evenly coated with the spice and sugar mixture, ready to infuse your hand pies with incredible flavor.
3. Roll and Cut the Pastry Circles
Retrieve one disc of chilled dough from the refrigerator. On a lightly floured surface, roll it out evenly to approximately 1/8-inch thickness. Now, with a 4-inch round cutter, begin cutting out perfect circles. Don’t waste a crumb! Gather any dough scraps, gently re-roll them, and cut out additional circles. Repeat this precise process with the second disc of dough to maximize your yield of individual apple pastries. This method ensures you get the most out of your meticulously prepared dough, setting the stage for numerous delicious treats.
4. Fill, Fold, and Seal Each Pie
It’s time for the magic of assembly! Carefully spoon about 1 to 2 tablespoons of the prepared apple filling onto one half of each dough circle. Be sure to leave a small, clean border around the edge for sealing. Gently fold the other half of the dough over the filling, creating a neat semi-circle. Press the edges down firmly to seal them completely, then crimp them decoratively with a fork for that classic, charming finish. Before baking, cut 2-3 small slits on top of each pie; these tiny vents are crucial for allowing steam to escape and preventing your lovely handheld apple delights from bursting during baking.
5. Achieve that Golden Finish
Preheat your oven to 375°F (190°C) to ensure it’s perfectly hot for baking. Line a baking sheet with parchment paper, which will prevent sticking and aid in cleanup. Arrange your beautifully assembled apple hand pies on the prepared baking sheet, leaving a little space between each. Brush the tops of the pastries generously with the egg wash – this is your secret weapon for a truly golden crust. Finally, sprinkle them with granulated sugar for an extra touch of sweetness and that irresistible crispness. This finishing step is what helps create the beautiful surface texture and appearance.
6. Bake to Golden Perfection
Slide the baking sheet into your preheated oven and bake for 20-25 minutes. Keep an eye on them; you’re looking for hand pies that are a rich golden brown, with the filling bubbling slightly inside, a sure sign of deliciousness. Once baked, carefully transfer them to a wire rack and allow them to cool slightly before serving. Garnish with a dusting of powdered sugar if desired, and serve warm to enjoy the delightful crispy texture and warm apple interior. These small, flaky apple treats are a true delight for any occasion.
Tips for Perfection
Crafting the perfect individual apple pastry involves a few simple tricks that can elevate your baking from good to absolutely glorious. Paying attention to these small details will ensure your efforts result in the most delicious outcomes every time.
Chill Your Dough
For the flakiest crust, always ensure your butter and water are very cold when preparing the dough. This attention to temperature is key to achieving those desirable layers in your apple hand pies. The cold butter melts slowly, releasing steam and creating pockets that result in a truly light and airy pastry. Don’t be tempted to use room-temperature ingredients here; cold is gold!
Don’t Overfill
Avoid overfilling the individual pastries, as this can cause them to burst during baking, leading to a less-than-perfect appearance. A modest amount of filling ensures structural integrity and keeps the beautiful shape of your golden-crusted treat intact. Remember, it’s about balance and precision when constructing these delicious bundles.
Maintain Shape
Chilling the assembled pies for 15 minutes before baking can significantly help them maintain their charming shape throughout the baking process. This brief chill firms up the butter in the dough, reducing the likelihood of spreading and ensuring those crisp edges hold their form beautifully. It’s a small step that makes a big difference in presentation.
Storage Savvy
Store leftover apple hand pies at room temperature for up to 2 days for immediate enjoyment, or refrigerate them for up to 4 days if you’re planning ahead. Keeping them in an airtight container helps maintain their freshness. These delectable treats are perfect for a quick snack or a packed lunch, making them a versatile addition to your culinary repertoire.
Reheat for Freshness
To restore their delightful crispness, reheat cooled hand pies in a toaster oven or conventional oven for a few minutes before serving. This brings back the initial warmth and crunch, making them taste as if they just came out of the oven. A warm, crispy apple hand pie is simply unbeatable!
Nutrition at a Glance
We all love to indulge, and it’s good to know what’s in these delightful pastries. Each serving of these delicious hand pies offers a satisfying balance, making them a wonderful treat.
- **Calories:** 300
- **Protein:** 4g
- **Carbs:** 45g
- **Fat:** 18g
These figures represent the approximate nutritional value per hand pie, allowing you to enjoy your golden-crusted treat with peace of mind.
Recipe Card
Here is the complete recipe information for your convenience, ensuring you have all the details at your fingertips to create these incredible Crispy Apple Hand Pies with a Golden Crust.
**Yields: ** 10-12 hand pies
**For the Dough: **
- 2 ½ cups all-purpose flour
- 1 teaspoon salt
- 1 cup (2 sticks) unsalted butter, very cold and cubed
- ½ cup ice water (plus more if needed)
**For the Filling: **
- 3 medium apples (about 3 cups diced), such as Granny Smith or Honeycrisp
- ¼ cup granulated sugar
- 2 tablespoons brown sugar, packed
- 1 teaspoon ground cinnamon
- ¼ teaspoon ground nutmeg
- 1 tablespoon lemon juice
- 1 tablespoon cornstarch
**For Assembly: **
- 1 large egg, beaten with 1 tablespoon water (egg wash)
- 2 tablespoons granulated sugar, for sprinkling
**Instructions: **
1. **Prepare the Dough: ** In a large bowl, whisk together the all-purpose flour and salt. Cut in the very cold, cubed butter using a pastry blender or your fingertips until pea-sized crumbs form. Gradually add the ice water, mixing until the dough just comes together. Divide the dough in half, flatten each half into a disc, wrap in plastic, and chill for at least 1 hour.
2. **Make the Filling: ** Peel, core, and dice the apples into small, uniform pieces. In a medium bowl, combine the diced apples with granulated sugar, brown sugar, cinnamon, nutmeg, lemon juice, and cornstarch. Stir well to ensure the apples are evenly coated.
3. **Assemble the Pies: ** On a lightly floured surface, roll out one disc of chilled dough to approximately 1/8-inch thickness. Using a 4-inch round cutter, cut out circles. Gather any dough scraps, re-roll them, and cut additional circles. Repeat this process with the second dough disc.
4. **Fill and Seal: ** Place about 1 to 2 tablespoons of the apple filling onto one half of each dough circle, leaving a small border around the edge. Fold the other half of the dough over the filling to create a semi-circle. Press the edges firmly to seal, then crimp them decoratively with a fork. Cut 2-3 small slits on top of each pie to allow steam to escape during baking.
5. **Bake: ** Preheat your oven to 375°F (190°C). Line a baking sheet with parchment paper. Arrange the assembled hand pies on the prepared baking sheet. Brush the tops of the pies with the egg wash and sprinkle generously with granulated sugar.
6. Bake for 20-25 minutes, or until the hand pies are golden brown and the filling is bubbling slightly. Allow them to cool on a wire rack before serving.
Enjoy the simple pleasure of a homemade pastry that tastes like a bite of sunshine!
Perfecting the Cooking Process
To achieve perfectly golden apple hand pies, prioritize chilling your dough for at least an full hour. Uniformly diced apples ensure even cooking and a consistent texture in every single bite. Don’t rush sealing the edges; a firm crimp prevents messy leaks. Finally, those small slits on top are crucial for steam release, promising beautifully puffed and crispy hand pies.
Add Your Personal Touch
While Granny Smith and Honeycrisp apples create a delightful balance, feel free to experiment with other apple varieties for your filling. Adjust the granulated sugar or brown sugar levels to match your desired sweetness. You can also slightly tweak the cinnamon or nutmeg to highlight your preferred spice profile in these flavorful apple hand pies.
Storage & Reheating
To maintain the irresistible crispness of your delicious hand pies, store any cooled leftovers loosely covered at room temperature for up to two days. For longer freshness, refrigerate them for up to four days. Reheat these apple pastries in a toaster oven or conventional oven for a few minutes; this method expertly restores their desired flaky texture.
Helpful Chef Tips
I once surprised my neighbor with a batch of these hand pies, and her joyful squeal when she bit into the warm, spiced apples made my whole week. It’s truly amazing how a simple, golden-crusted treat can spread such happiness.
Final Thoughts
The joy of biting into a warm, homemade treat is truly unmatched. These individual apple pastries, with their tender spiced filling and signature crunch, are a testament to simple ingredients creating extraordinary flavor. Imagine the scent of cinnamon and nutmeg wafting through your kitchen as these golden beauties bake to perfection. Whether enjoyed as a comforting dessert or a delightful snack, creating your own Crispy Apple Hand Pies with a Golden Crust promises a deeply satisfying experience. Don’t wait—gather your ingredients and bake a batch today to savor every golden, fruit-filled bite!
Print
Crispy Apple Hand Pies with a Golden Crust
- Total Time: 1 hour 10 minutes
- Yield: 10-12 hand pies 1x
Description
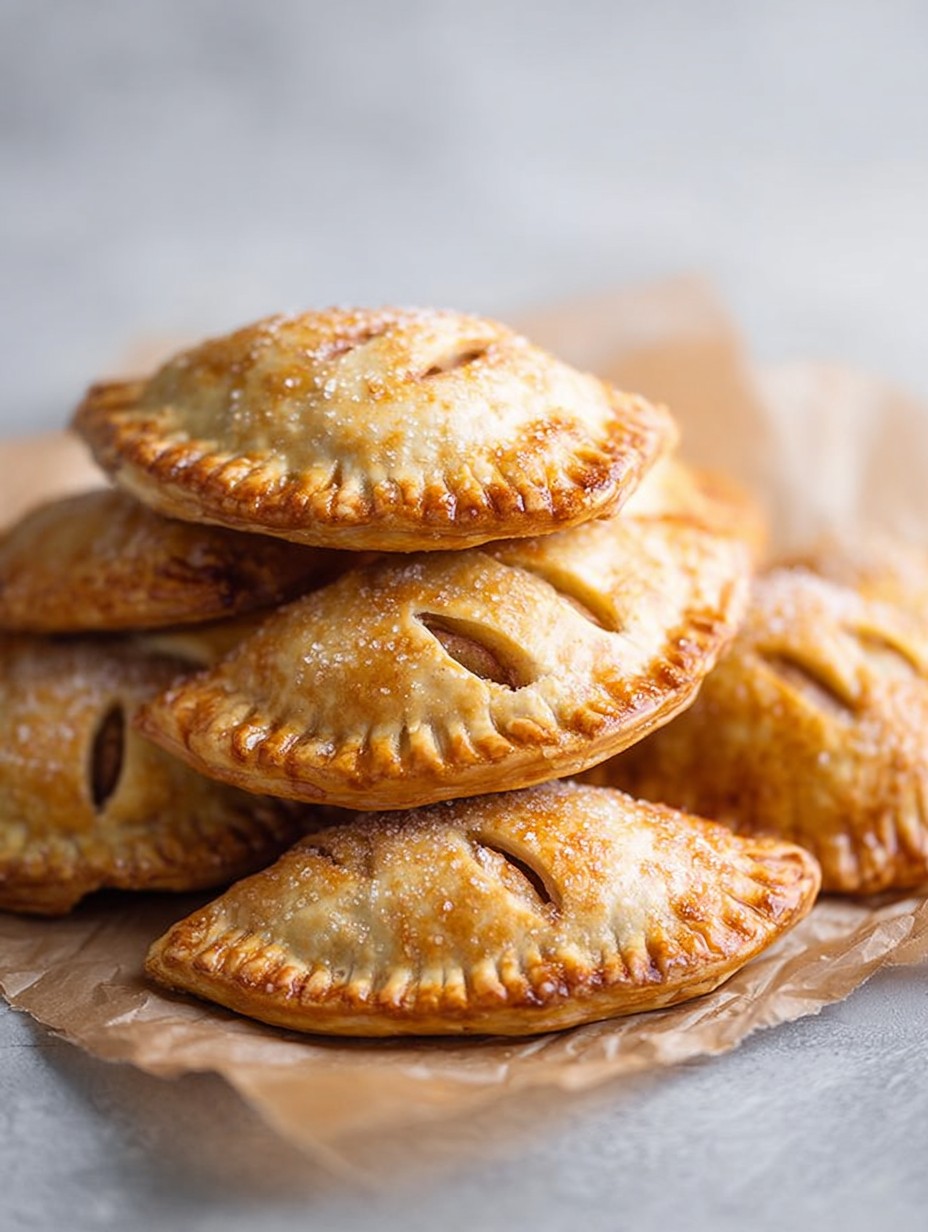
These individual hand pies feature a golden, flaky pastry crust encasing a warm, tender apple filling. The apples are gently spiced with cinnamon and nutmeg, offering a balance of sweet and tart flavors. Each pie is baked to a rich golden brown and finished with a delicate sugar topping, providing a subtle textural contrast.
Ingredients
- **For the Dough:**
- 2 ½ cups all-purpose flour
- 1 teaspoon salt
- 1 cup (2 sticks) unsalted butter, very cold and cubed
- ½ cup ice water (plus more if needed)
- **For the Filling:**
- 3 medium apples (about 3 cups diced), such as Granny Smith or Honeycrisp
- ¼ cup granulated sugar
- 2 tablespoons brown sugar, packed
- 1 teaspoon ground cinnamon
- ¼ teaspoon ground nutmeg
- 1 tablespoon lemon juice
- 1 tablespoon cornstarch
- **For Assembly:**
- 1 large egg, beaten with 1 tablespoon water (egg wash)
- 2 tablespoons granulated sugar, for sprinkling
Instructions
- **Prepare the Dough:** In a large bowl, whisk together the all-purpose flour and salt. Cut in the very cold, cubed butter using a pastry blender or your fingertips until pea-sized crumbs form. Gradually add the ice water, mixing until the dough just comes together. Divide the dough in half, flatten each half into a disc, wrap in plastic, and chill for at least 1 hour.
- **Make the Filling:** Peel, core, and dice the apples into small, uniform pieces. In a medium bowl, combine the diced apples with granulated sugar, brown sugar, cinnamon, nutmeg, lemon juice, and cornstarch. Stir well to ensure the apples are evenly coated.
- **Assemble the Pies:** On a lightly floured surface, roll out one disc of chilled dough to approximately 1/8-inch thickness. Using a 4-inch round cutter, cut out circles. Gather any dough scraps, re-roll them, and cut additional circles. Repeat this process with the second dough disc.
- **Fill and Seal:** Place about 1 to 2 tablespoons of the apple filling onto one half of each dough circle, leaving a small border around the edge. Fold the other half of the dough over the filling to create a semi-circle. Press the edges firmly to seal, then crimp them decoratively with a fork. Cut 2-3 small slits on top of each pie to allow steam to escape during baking.
- **Bake:** Preheat your oven to 375°F (190°C). Line a baking sheet with parchment paper. Arrange the assembled hand pies on the prepared baking sheet. Brush the tops of the pies with the egg wash and sprinkle generously with granulated sugar.
- Bake for 20-25 minutes, or until the hand pies are golden brown and the filling is bubbling slightly. Allow them to cool on a wire rack before serving.
Notes
For the flakiest crust, ensure your butter and water are very cold when preparing the dough.
Avoid overfilling the hand pies, as this can cause them to burst during baking.
Chilling the assembled pies for 15 minutes before baking can help them maintain their shape.
Store leftover hand pies at room temperature for up to 2 days, or refrigerate for up to 4 days.
Reheat cooled hand pies in a toaster oven or conventional oven for a few minutes to restore their crispness.
- Prep Time: 45 minutes (plus 1 hour chilling)
- Cook Time: 25 minutes
Nutrition
- Calories: 300
- Fat: 18g
- Carbohydrates: 45g
- Protein: 4g
FAQs
What type of apples are best for the filling?
For the delicious apple filling in this recipe, it is recommended to use 3 medium apples, which equates to about 3 cups diced. Specifically, varieties like Granny Smith or Honeycrisp are excellent choices. These apples offer a wonderful balance of sweet and tart flavors, which complements the added granulated sugar, brown sugar, cinnamon, and nutmeg beautifully. Their texture also holds up well during baking, ensuring a tender but not mushy filling that enhances the overall experience of these delightful hand pies. Ensure they are peeled, cored, and diced uniformly before combining with the other filling ingredients.
How can I ensure the dough for these apple hand pies is flaky?
Achieving a flaky crust is essential for these delectable treats, and the secret lies in keeping your ingredients very cold. When preparing the dough, ensure both the unsalted butter and the ice water are extremely cold. The recipe specifically calls for very cold, cubed butter and ½ cup of ice water, with more if needed. Using a pastry blender or your fingertips to cut the butter into the flour mixture until pea-sized crumbs form helps create those crucial layers. Additionally, after forming the dough discs, chilling them for at least 1 hour, and even chilling the assembled pies for 15 minutes before baking, contributes significantly to a superior, flaky texture.
What is the best way to prevent the hand pies from bursting during baking?
Preventing your individual pastries from bursting and losing their delicious filling is key to beautiful results. The most important tip is to avoid overfilling them. The instructions advise placing only about 1 to 2 tablespoons of the apple filling onto one half of each dough circle, ensuring a small border around the edge is maintained. After folding the dough over, firmly press the edges to seal them, then crimp them decoratively with a fork. Additionally, cutting 2-3 small slits on top of each pie is crucial, as this allows steam to escape during baking, further reducing the risk of a burst crust.
What is the best way to store and reheat leftover hand pies?
Proper storage and reheating ensure your homemade pastries remain delicious for as long as possible. You can store any leftover hand pies at room temperature for up to 2 days, making them a convenient treat to have on hand. If you need to keep them fresh for longer, refrigerate them for up to 4 days. When you are ready to enjoy a cooled hand pie and wish to restore its delightful crispness, reheating is simple. Place them in a toaster oven or a conventional oven for a few minutes until warmed through and the crust regains its desired texture.